Propagating orchids is a rewarding way to grow new plants from your existing ones. While orchids are known for their delicate nature, they can be successfully multiplied using different propagation techniques, such as keikis, division, and back bulbs. With the right method and proper care, you can expand your orchid collection or share these beautiful plants with friends and family.
🌱 Can Orchids Be Propagated?
Unlike some houseplants that can be easily grown from cuttings, orchids require specific propagation methods depending on their species. Certain orchids, like Phalaenopsis (Moth Orchids), naturally produce baby plants (keikis), while others, like Cattleya or Dendrobium, can be divided into new plants.
✔ Best Orchids for Propagation:
- Phalaenopsis (Moth Orchid) – Can grow keikis on flower spikes.
- Dendrobium – Forms keikis and can be divided at the base.
- Cattleya – Can be divided into multiple plants when mature.
- Oncidium – Propagated by division.
- Vanda – Can be grown from cuttings if aerial roots are present.
❌ Orchids That Are Difficult to Propagate:
- Paphiopedilum (Lady Slipper Orchids) – Rarely produce offsets or divisions.
- Certain hybrids that do not naturally form keikis or separate growths.
💡 The best time to propagate orchids is during their active growing season (spring to early summer) when they are producing new roots and leaves.
🌿 Method 1: Propagating Orchids Using Keikis (Best for Phalaenopsis and Dendrobium)
A keiki is a small plantlet that grows from the mother orchid’s flower spike or cane. It is an exact clone of the parent plant and, once mature, can be separated to grow as an independent orchid.
✔ How to Identify a Keiki:
- Small leaves and roots forming along the flower spike or cane.
- Looks like a miniature version of the mother plant.
- Usually appears when the orchid has been in good growing conditions.
🛠 How to Propagate an Orchid Using Keikis:
1️⃣ Wait until the keiki has at least 2–3 leaves and roots that are 2–3 inches (5–7 cm) long.
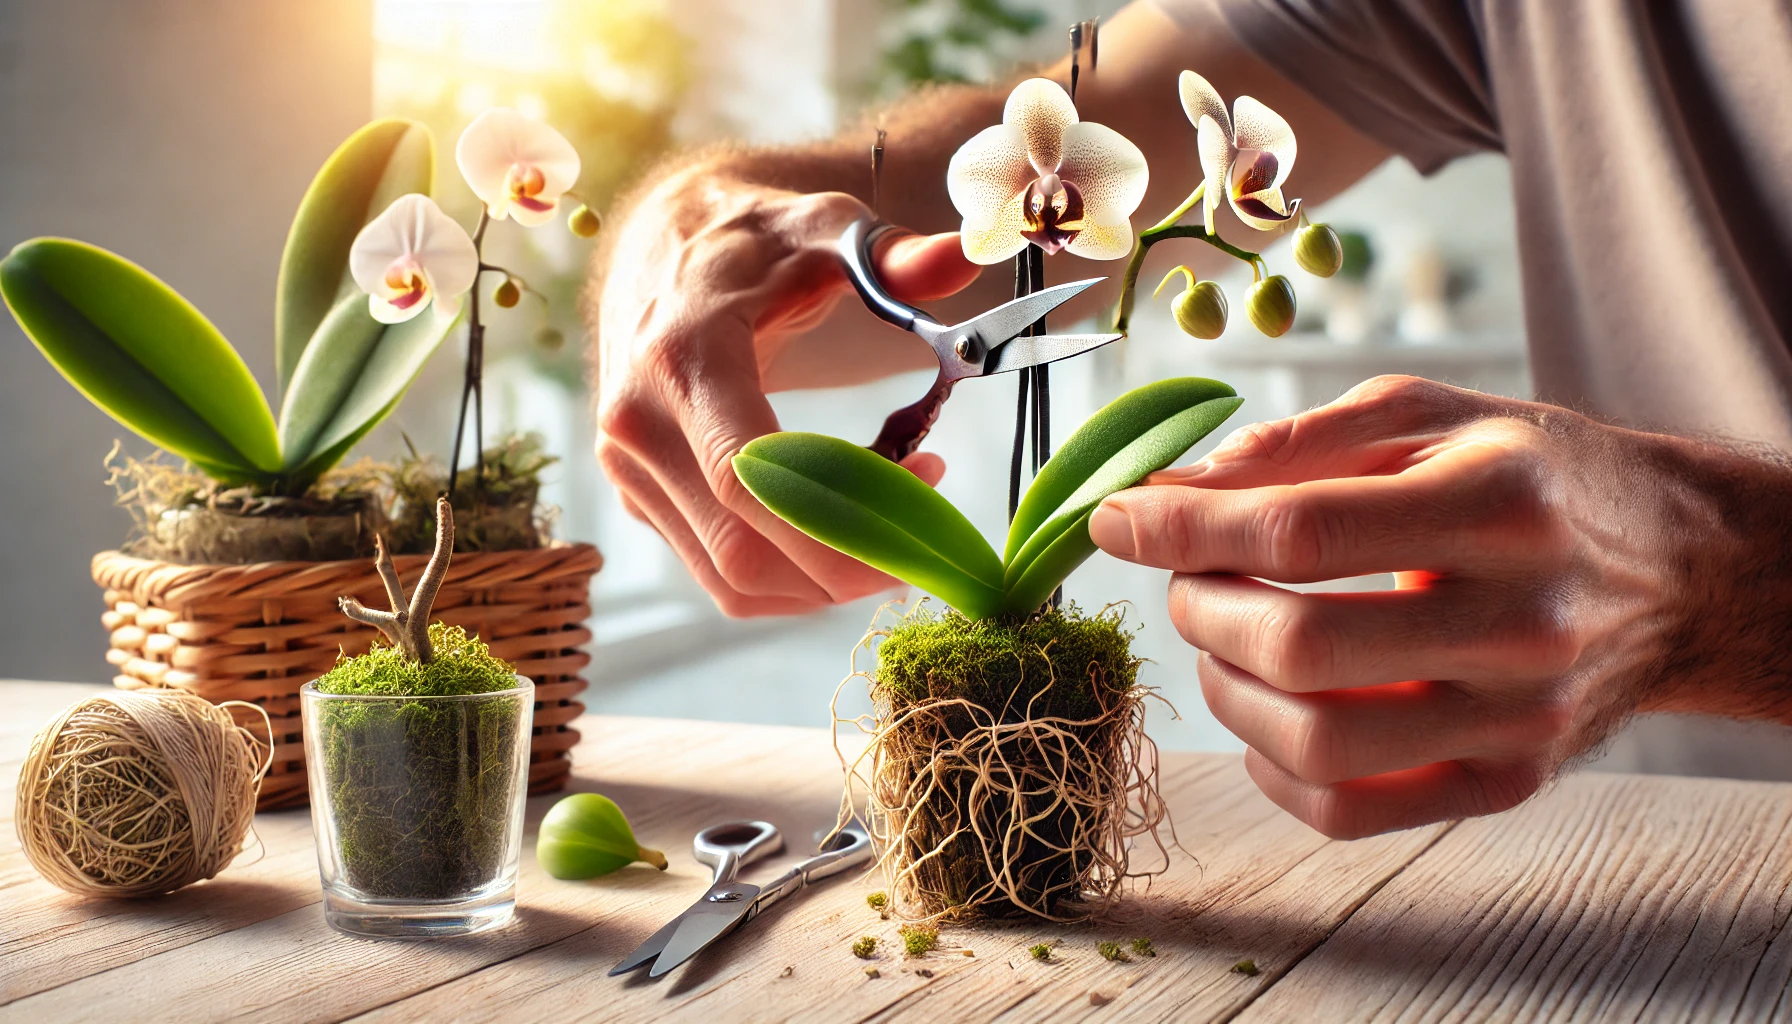
2️⃣ Use sterilized scissors to carefully cut the keiki from the mother plant, keeping its roots intact.
3️⃣ Place the keiki into a small orchid pot with fresh sphagnum moss or bark mix.
4️⃣ Keep the young plant in high humidity (50–70%) and provide bright, indirect light.
5️⃣ Water sparingly at first to avoid overwatering its delicate roots.
💡 To encourage keiki growth, use a keiki paste (hormone treatment) on flower spike nodes.
🏺 Method 2: Propagating Orchids by Division (Best for Cattleya, Oncidium, and Dendrobium)
Orchid division is the process of splitting a mature plant into two or more sections, each with its own roots and pseudobulbs. This method works best for orchids that grow in clumps or have multiple pseudobulbs, like Cattleya and Oncidium.
✔ When to Divide an Orchid:
- The plant has at least 4–6 healthy pseudobulbs or canes.
- Roots are strong and well-developed.
- The orchid has outgrown its pot and is crowded with multiple growths.
🛠 How to Divide an Orchid Successfully:
1️⃣ Remove the orchid from its pot and shake off excess potting mix.
2️⃣ Identify natural divisions, ensuring each section has at least 3–4 pseudobulbs and roots.
3️⃣ Use sterilized scissors or a knife to separate the sections.
4️⃣ Repot each division into a new pot with fresh orchid bark mix.
5️⃣ Keep newly divided plants in a warm, humid environment and avoid fertilizing for the first few weeks.
💡 Caring for newly divided orchids: Keep humidity high and reduce watering slightly until new roots form.
🌱 Method 3: Propagating Orchids Using Back Bulbs (For Cattleya and Oncidium)
Back bulbs are older, leafless pseudobulbs that can still grow into a new orchid. While they may not look healthy, they contain stored energy that can sprout new growth.
🛠 How to Propagate Orchids Using Back Bulbs:
1️⃣ Remove the orchid from its pot and separate the oldest, leafless pseudobulbs from the main plant.
2️⃣ Plant each back bulb in sphagnum moss or a bark mix, keeping it slightly moist.
3️⃣ Place in bright, indirect light and maintain high humidity (60–80%).
4️⃣ Within a few months, new growth should appear, developing into a healthy orchid.
🌡 Caring for Newly Propagated Orchids
After propagation, orchids need gentle care to encourage growth and prevent transplant shock.
✔ Keep humidity between 50–70% using a humidity tray or misting the air.
✔ Maintain warm temperatures (65–75°F or 18–24°C) to support new root development.
✔ Provide bright, indirect light but avoid direct sun exposure.
✔ Water sparingly at first—let the plant establish new roots before increasing watering.
✔ Wait at least 4–6 weeks before fertilizing to prevent stressing the new plant.
🚫 Common Propagation Mistakes to Avoid
❌ Dividing an orchid too early – If the plant is too small, it won’t survive separation.
❌ Overwatering keikis or divisions – Newly propagated orchids need moderate moisture, not soggy roots.
❌ Using a pot that’s too large – Smaller pots help prevent excess moisture buildup.
❌ Placing in direct sunlight too soon – Young orchids are delicate and can dry out quickly.
🛡 Final Tips for Successfully Propagating Orchids
✔ Use sterilized tools to prevent infections when cutting keikis or dividing orchids.
✔ Repot new orchids in well-draining bark or sphagnum moss to promote root growth.
✔ Be patient—some methods take months before new growth appears.
✔ Maintain a stable, warm, and humid environment to encourage healthy development.
With the right technique, patience, and proper care, you can successfully propagate orchids and enjoy growing new plants from your collection. 🌸✨