Repotting an orchid is an essential part of its care routine, ensuring that the plant remains healthy and continues to grow. Over time, the potting medium breaks down, leading to poor drainage, root rot, and nutrient deficiencies. Knowing when and how to repot your orchid correctly can prevent damage and help it thrive.
When to Repot an Orchid
Unlike most houseplants, orchids do not need frequent repotting. However, there are specific signs that indicate it’s time for a new pot and fresh medium.
Signs Your Orchid Needs Repotting:
- The potting mix has broken down and retains too much moisture.
- Roots are growing out of the pot or becoming overcrowded.
- The orchid is leaning or becoming unstable.
- The roots appear brown, mushy, or rotten.
- You haven’t repotted in over two years.
The best time to repot an orchid is after it has finished blooming, during its active growth phase. Avoid repotting while the orchid is flowering, as this can cause stress and lead to bud drop.
Choosing the Right Pot and Potting Medium
Selecting the proper pot and medium is crucial for a successful repotting process.
Best Orchid Pots:
- Plastic pots – Retain moisture longer and are lightweight.
- Clay or terracotta pots – Provide better air circulation but dry out faster.
- Transparent pots – Allow you to monitor root health and moisture levels.
Ensure the pot has adequate drainage holes to prevent excess water buildup.
Best Potting Mediums:
- Bark chips – Provide excellent drainage and airflow.
- Sphagnum moss – Retains moisture well and is ideal for orchids that need more humidity.
- Coconut husk – Holds water slightly longer than bark but still allows good aeration.
- Perlite or charcoal – Improves drainage and prevents rot when mixed with other materials.
A bark + sphagnum moss + perlite mix works well for most orchid species.
Step-by-Step Guide to Repotting an Orchid
Materials Needed:
- New orchid pot (slightly larger than the old one)
- Fresh orchid potting mix
- Sterilized scissors or pruning shears
- Gloves (optional)
- Bowl of lukewarm water
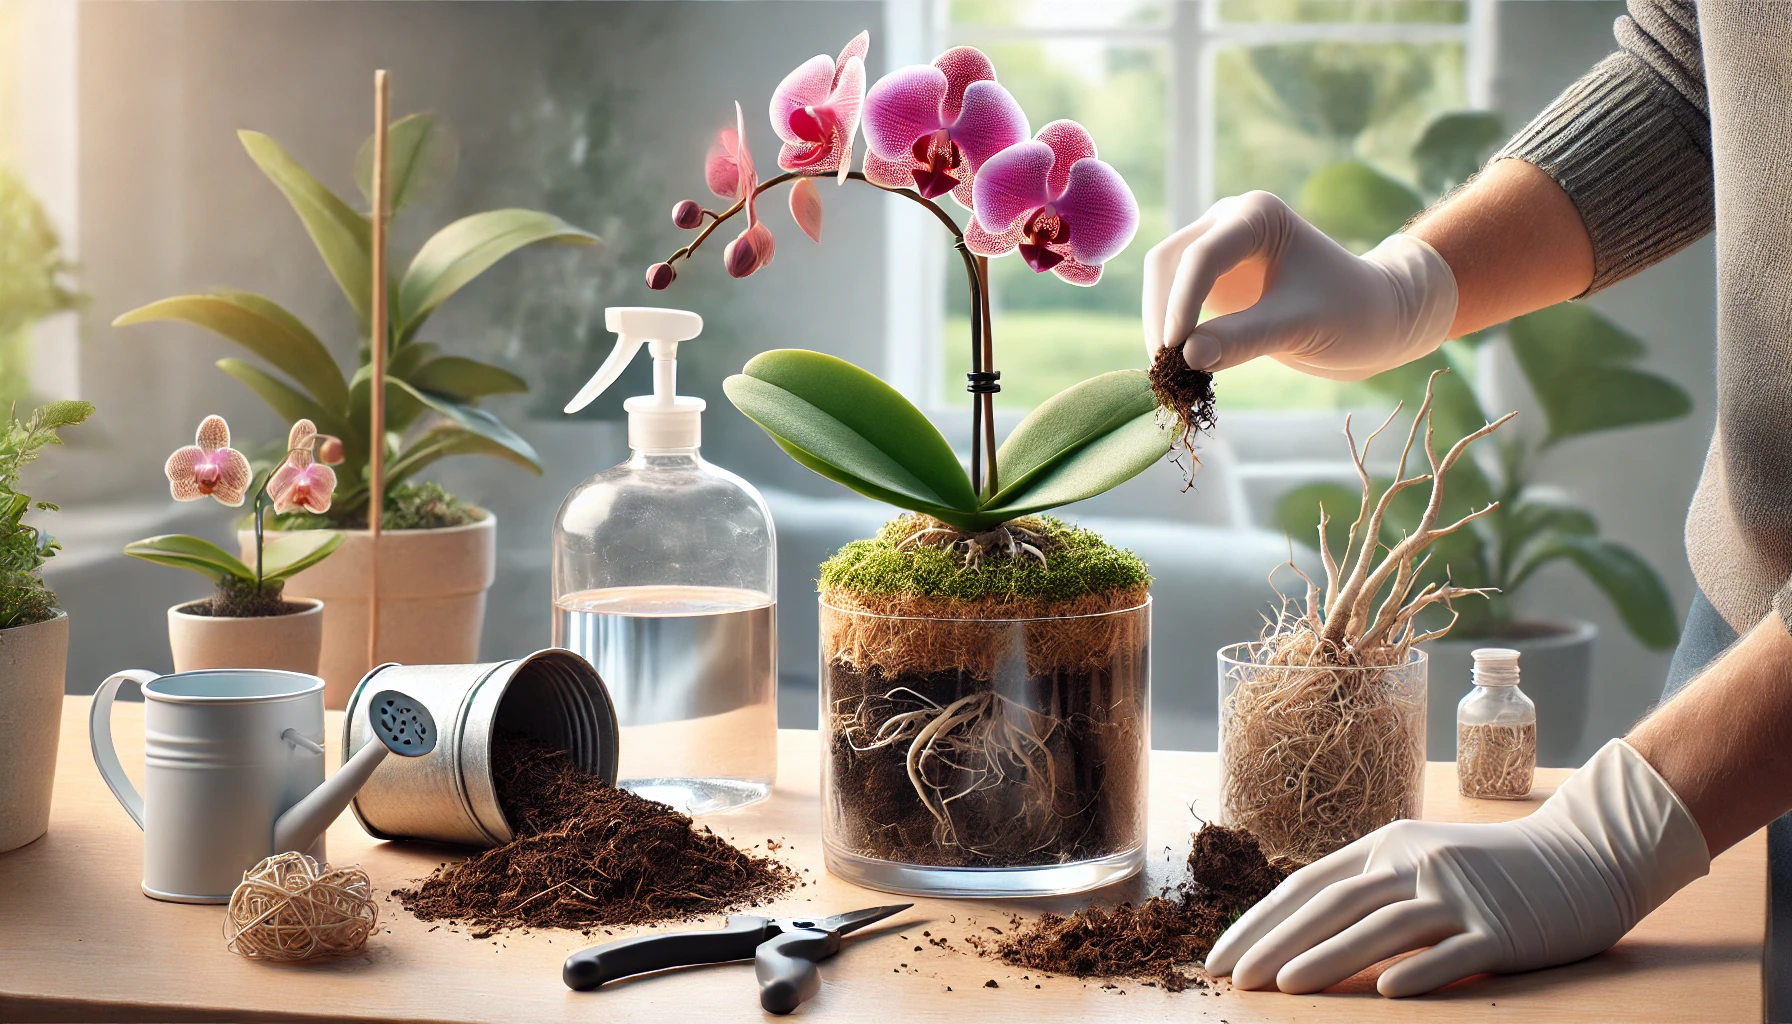
Step 1: Remove the Orchid from Its Old Pot
Gently squeeze or tap the sides of the pot to loosen the roots. Carefully pull the orchid out, shaking off any remaining potting mix.
Step 2: Inspect and Trim the Roots
Look for any black, mushy, or rotting roots and trim them off with sterilized scissors. Healthy roots should be firm and green or white.
Step 3: Soak the New Potting Medium
If using bark chips or moss, soak them in lukewarm water for about 30 minutes to prevent them from repelling moisture initially.
Step 4: Position the Orchid in the New Pot
Hold the orchid in the center of the pot, making sure the roots spread naturally. Add the fresh potting medium, gently pressing it around the roots but not packing it too tightly.
Step 5: Water Lightly and Let the Orchid Adjust
After repotting, lightly water the orchid and place it in a shaded, warm area for a few days to reduce stress. Avoid fertilizing for about two weeks to allow the plant to adjust.
Common Mistakes to Avoid When Repotting
- Repotting while the orchid is blooming – This can cause stress and lead to premature flower loss.
- Using regular potting soil – Orchids need a well-draining mix to prevent root suffocation.
- Trimming too many roots – Only remove dead or damaged roots, as healthy roots are essential for nutrient absorption.
- Packing the medium too tightly – Orchid roots need airflow, so avoid compacting the potting mix.
- Overwatering after repotting – Let the plant adjust before resuming a normal watering schedule.
Final Tips for Successful Repotting
- Repot orchids every 1–2 years to keep the medium fresh.
- Choose a pot with good drainage and a well-aerated potting mix.
- Keep the orchid in a humid, indirect light environment after repotting.
- Be patient! Orchids may take a few weeks to adjust before showing new growth.
With proper repotting techniques, your orchid will grow stronger, develop healthier roots, and reward you with stunning blooms in the future.