Repotting is an essential part of orchid care, ensuring that your plant continues to grow strong roots, absorb nutrients, and produce beautiful blooms. However, knowing when to repot is just as important as knowing how to do it. Repotting at the right time prevents root rot, refreshes the growing medium, and allows the orchid to thrive.
🌱 Why Do Orchids Need Repotting?
Unlike most houseplants, orchids do not grow in regular soil. Instead, they are typically potted in bark, sphagnum moss, or other loose materials that provide air circulation to the roots. Over time, these materials break down, reducing airflow and causing drainage problems.
✔ Main Reasons for Repotting Orchids:
- Old potting mix decomposes, reducing drainage and causing root rot.
- Roots outgrow the pot, leading to overcrowding and poor nutrient absorption.
- Salt and mineral buildup from fertilizers can damage roots.
- Pests or mold growth in the potting medium can threaten the orchid’s health.
💡 Repotting does not mean moving to a bigger pot—it’s about refreshing the potting mix and ensuring proper root health.
📅 How Often Should You Repot an Orchid?
Different types of orchids require repotting at different intervals.
✔ General Repotting Schedule for Orchids:
- Phalaenopsis (Moth Orchid): Every 1–2 years.
- Cattleya and Dendrobium: Every 2 years.
- Oncidium and Miltoniopsis: Every 1–2 years (as their mix decomposes faster).
- Vanda: Rarely needs repotting, as they often grow in hanging baskets with exposed roots.
💡 If your orchid is thriving in its current pot, don’t rush to repot—only do it when necessary.
🚨 Signs That Your Orchid Needs Repotting
If you’re unsure whether it’s time to repot, look for these clear signs:
✔ Roots Growing Out of the Pot
- If orchid roots overflow the container or grow over the edge, they need more space.
- Some aerial roots are normal, but excessive root escape suggests overcrowding.
✔ Potting Mix is Decomposed or Mushy
- Over time, bark breaks down into small particles, reducing airflow to roots.
- Sphagnum moss that stays wet for too long becomes compacted and suffocates roots.
- Mold or a musty smell indicates the mix is too old and needs replacing.
✔ Roots Look Brown, Mushy, or Rotting
- Healthy roots are firm, green when wet, and silvery-white when dry.
- Rotten roots appear brown, mushy, or black, which means the potting mix is holding too much moisture.
✔ Water Drains Too Slowly or Too Quickly
- If water pools at the bottom of the pot, the mix has broken down and is retaining too much moisture.
- If water runs through too fast, the mix is too dry and no longer supports hydration.
✔ Orchid is Unstable in Its Pot
- If your orchid wobbles or tips over, its roots may not be properly anchored.
- Loose, weak roots suggest it’s time for repotting.
💡 If your orchid shows one or more of these signs, it’s time for a fresh start in a new potting mix.
⏳ When is the Best Time to Repot an Orchid?
Repotting should be done at the right stage of the orchid’s growth cycle to avoid disrupting blooming.
✔ Best Time to Repot:
- Right after blooming – Once flowers fade, the orchid enters a growth phase, making it ideal for repotting.
- During spring or early summer – This is when most orchids actively grow new roots.
❌ Worst Time to Repot:
- When the orchid is in bloom – Disturbing the roots can cause flowers to drop early.
- During winter dormancy – Some orchids rest in colder months and may struggle to adapt after repotting.
💡 If an orchid has severe root rot or pest problems, repot it immediately, regardless of the season.
🏺 Choosing the Right Pot and Potting Mix for Repotting
✔ Best Orchid Pot Types:
- Transparent plastic pots – Allow root monitoring and good airflow.
- Clay or terracotta pots – Absorb excess moisture, preventing overwatering.
- Orchid baskets or slotted pots – Provide excellent drainage and mimic natural growing conditions.
✔ Best Potting Mix Based on Orchid Type:
- Bark mix (fir bark, perlite, charcoal) – Best for Phalaenopsis, Cattleya, and Dendrobium.
- Sphagnum moss – Retains moisture well for orchids that need more humidity.
- Mix of bark and moss – Great for Oncidium, Miltoniopsis, and young orchids.
💡 Avoid regular potting soil—it retains too much moisture and suffocates orchid roots.
✂️ Step-by-Step Guide to Repotting an Orchid
✔ Step 1: Remove the Orchid from Its Pot
- Gently shake off old potting mix and inspect the roots.
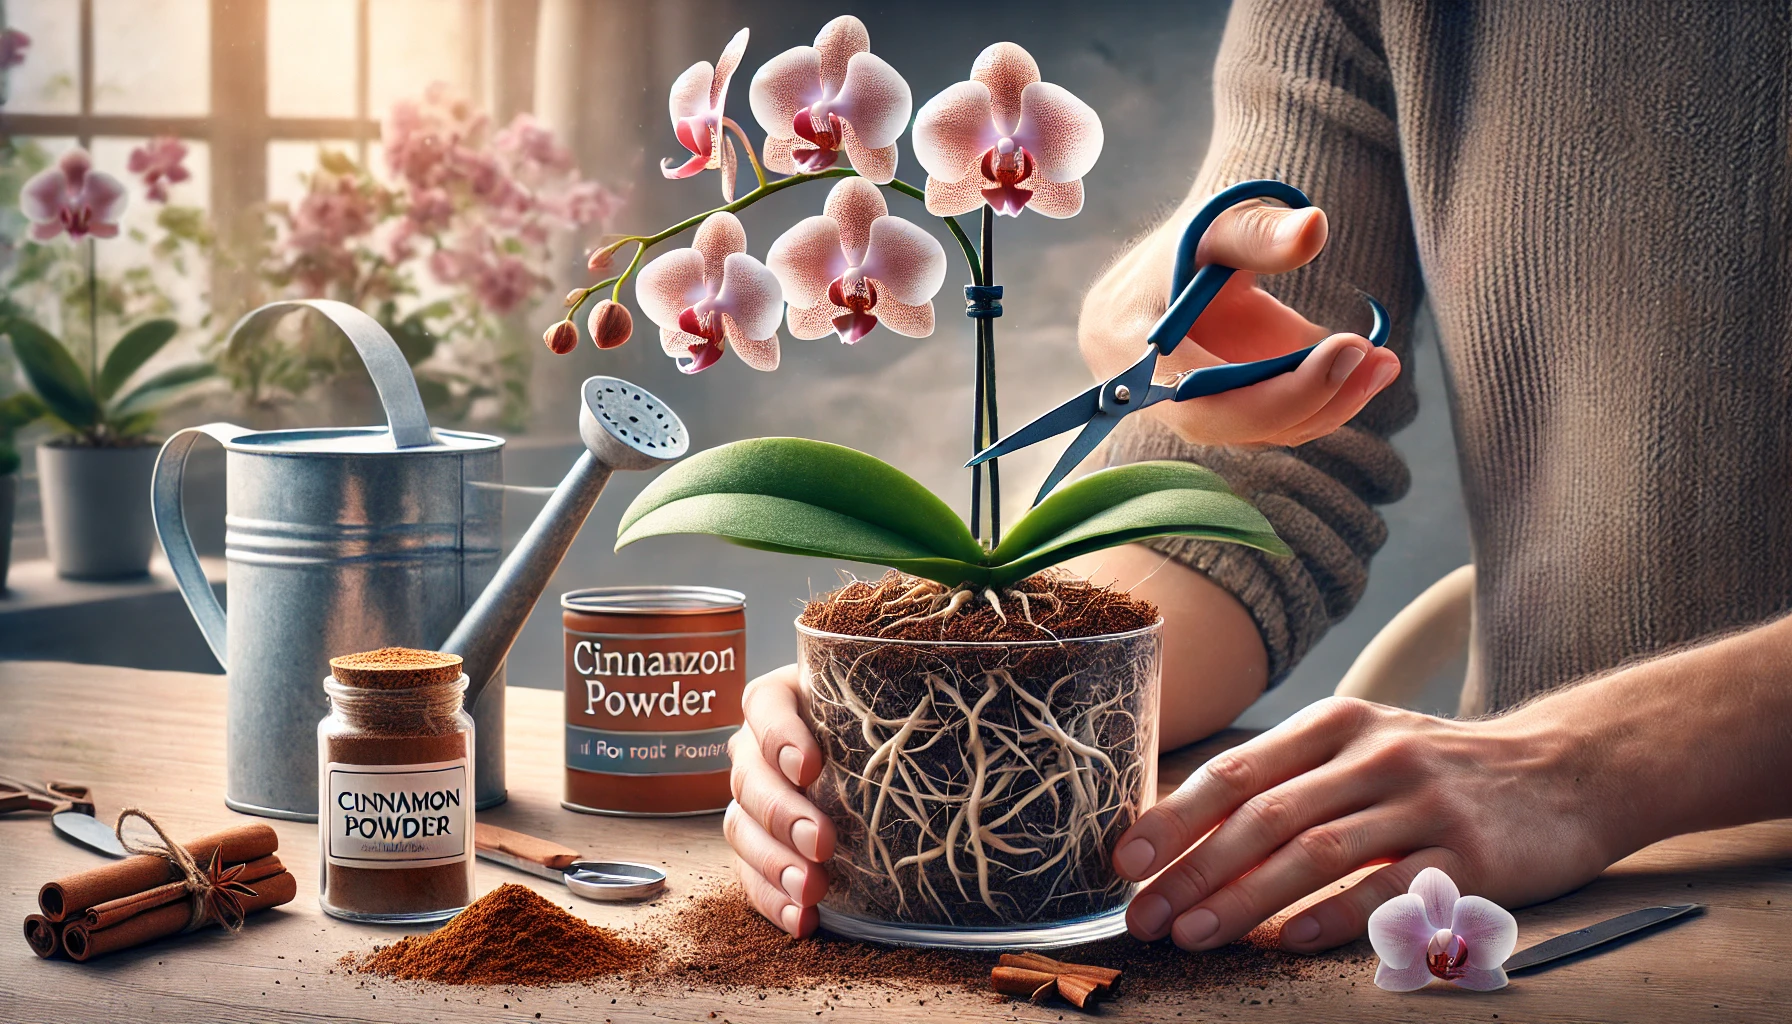
✔ Step 2: Trim Damaged or Rotten Roots
- Use sterilized scissors to cut off any black, mushy, or dead roots.
- Apply cinnamon powder or hydrogen peroxide to prevent infections.
✔ Step 3: Prepare the New Potting Mix
- Soak bark chips in water for 30 minutes before use to improve moisture retention.
- If using sphagnum moss, moisten it lightly before adding it to the pot.
✔ Step 4: Repot the Orchid
- Place the orchid in the center of the pot, spreading the roots out gently.
- Add fresh potting mix around the roots, tapping lightly to secure it without compacting.
✔ Step 5: Water Lightly and Let the Orchid Adjust
- Wait 3–5 days before the first watering to allow roots to recover.
- Keep the orchid in bright, indirect light and monitor for new root growth.
💡 It may take a few weeks for the orchid to fully adjust, but new roots should start growing soon!
🚫 Common Mistakes to Avoid When Repotting Orchids
❌ Using the wrong potting mix – Regular soil suffocates roots; always use orchid bark or moss.
❌ Overwatering after repotting – Newly trimmed roots need time to heal before being watered.
❌ Forcing roots into the pot – Always arrange roots gently without packing them tightly.
❌ Repotting during blooming – Flowers may drop due to stress; wait until the bloom cycle ends.
🛡 Final Tips for Keeping Your Repotted Orchid Healthy
✔ Repot orchids every 1–2 years to refresh the potting mix.
✔ Use a pot with drainage holes to prevent root rot.
✔ Water only when the roots turn silvery-white to avoid overwatering.
✔ Keep orchids in bright, indirect light to support new root growth.
✔ Be patient—repotted orchids may take a few weeks to adjust but will soon thrive in their fresh environment!
By repotting your orchid at the right time and with the right materials, you’ll ensure strong root development, better hydration, and beautiful long-lasting blooms! 🌸✨